REVIEW · DUBLIN
Dublin: Forge a Silver Ring Workshop on Drury Street
Book on GetYourGuide →Operated by Silver Works · Bookable on GetYourGuide
Make a ring with your own hands. This Dublin workshop turns sterling silver into a wearable souvenir, with you cutting, shaping, soldering, filing, and finishing your own ring as you go. It’s a rare mix of travel and hands-on craft, right on Drury Street.
I especially love the hands-on forging process you actually do, not just watch. And you also get real creative control through texture and polishing choices, with a tutor guiding every step (names like Audrey, Sinead, Kat, Claire, and Emily show up in classes people take). The one drawback: the studios have steep stairs and the work needs a good level of English, so it’s not ideal for everyone.
In This Review
- Key things to know before you forge
- Why a silver ring workshop in Dublin feels like a real souvenir
- Entering the studio: Drury Street vs Georges Street
- The full 2-hour forging sequence (and what you’re actually learning)
- 1) Mark the silver for your ring size
- 2) Cut the silver to size
- 3) Shape the band on the ring mandrel
- 4) Soldering the ring closed
- 5) Filing and refining the ring
- 6) Customize the curve
- 7) Choose your texture, then planish
- 8) Pick your polish to finish
- Design choices that make the ring feel uniquely yours
- Size starts with your choice of finger
- Curve changes the feel
- Texture options let you choose your style
- Polish decides the final vibe
- Two instructors, clear guidance, and the kind of patience that matters
- Price and value: what $98 buys you in the real world
- Who this workshop suits best in Dublin
- Age and comfort considerations
- Smart planning tips so the day goes smoothly
- Arrive early and don’t rely on luck
- Wear footwear you can stand in
- Bring a simple goal
- Expect English instruction
- Should you book Forge a Silver Ring on Drury Street?
- FAQ
- How long is the Dublin silver ring forging workshop?
- How much does the workshop cost?
- What do I make and take home?
- Where do I meet for the workshop?
- Is hotel pickup or drop-off included?
- What ages can attend?
Key things to know before you forge
- Choose your finger and cut your own silver to the length you need before shaping begins
- You’ll solder, file, and refine the curve, guided by your tutor’s hands-on corrections
- Pick from three distinct texture options and use the planishing hammer to get the look
- Select your polish finish so your ring matches how you want it to feel on your hand
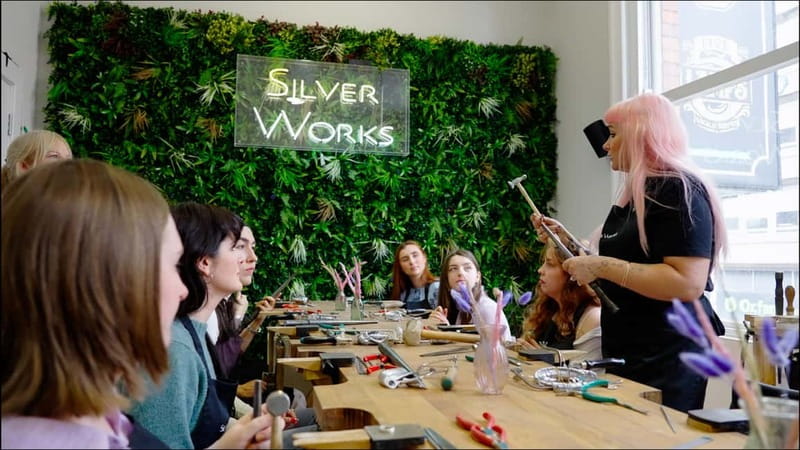
- Small class style with two instructors means you get help when your grip or rhythm needs adjusting
Why a silver ring workshop in Dublin feels like a real souvenir
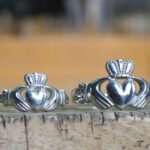
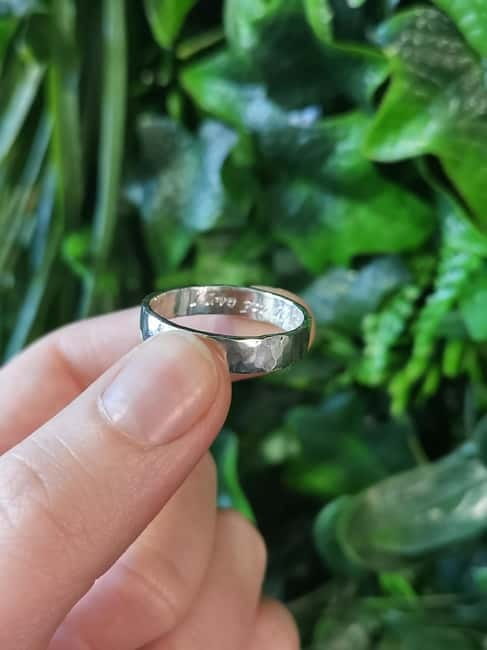
There are souvenir shops everywhere in Dublin. This is different. A ring you forge yourself comes from effort, mistakes, tweaks, and then that final moment when you can see it take shape.
The best part is that the workshop is built around doing the craft. You start with a piece of silver and end with something you can wear every day. For me, that kind of memory sticks better than a postcard, because you can physically feel the story each time you put it on.
And it’s not only for couples. Yes, it’s a popular match-for-two activity, but it works just as well if you want a personal token: a date ring, a birthstone plan (if your engraving ideas come up), or a simple reminder that you made something in Dublin with your own hands.
You can also read our reviews of more tours and experiences in Dublin


Entering the studio: Drury Street vs Georges Street
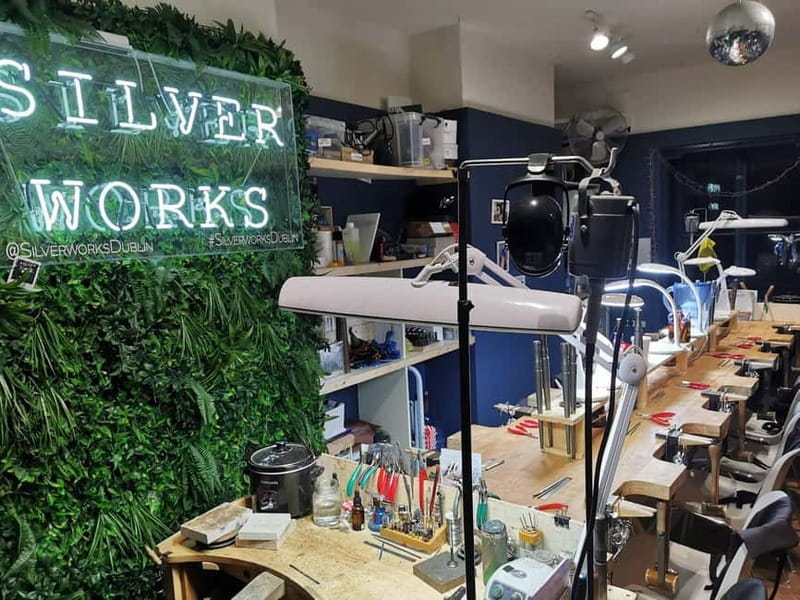
Your booking is for the Drury Street studio, but there’s an important detail to plan for: sometimes the workshop shifts to a second location. If that happens, they use 4 South Great Georges Street (D02NR59), about a 2-minute walk away.
You’ll get a message the day before to tell you which studio you’ll use. That’s your clue to check your plans, not just show up on autopilot.
Practical tip: arrive with margin. They ask you to be there 10 minutes before the class start. If you’re late by more than 10 minutes after the start time, they can’t accept you. Dublin streets are easy to navigate, but timing can still slip when you’re grabbing a coffee or hopping off the bus. Build in buffer and keep your day moving.
One more logistics reality: both studios have steep stairs, and they’re not suitable for wheelchair users. If you have any mobility constraints, this matters more than usual because you’ll likely need stairs just to get to your work area.
The full 2-hour forging sequence (and what you’re actually learning)
This class is designed to fit into 2 hours, so every step has a job. You’ll go from raw metal to a finished ring without the long wait that many jewelry courses require.
Here’s the flow you can expect:
1) Mark the silver for your ring size
You begin by deciding which finger the ring will be for. Then you mark the silver to the length you need. That step sounds simple, but it’s where a lot of “fit” gets decided. You’re not guessing later. You’re choosing up front.
2) Cut the silver to size
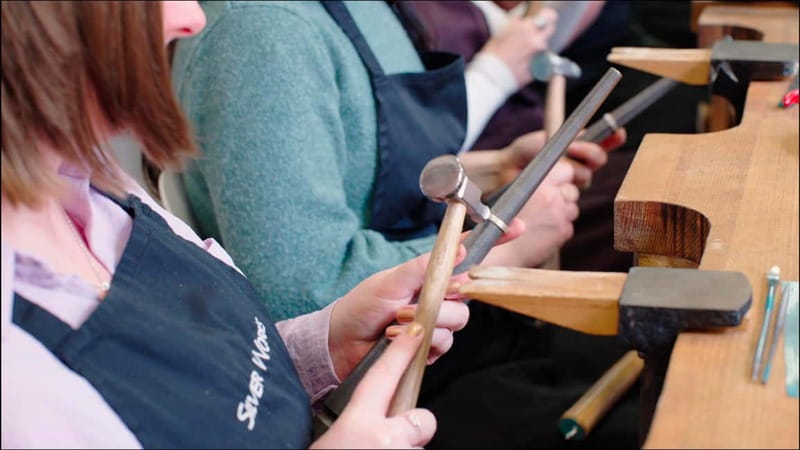
Next comes the handsaw. You cut the silver to match the length you marked. This is usually the first moment where people realize the workshop isn’t theoretical. You’ll be working with real tools, with a tutor close by to guide you through safe, workable technique.


3) Shape the band on the ring mandrel
Then you start forming the ring. You’ll use a mallet to shape the band around a ring mandrel (the form the ring takes shape over). The tutor shows you how to get a clean circle instead of a warped oval.
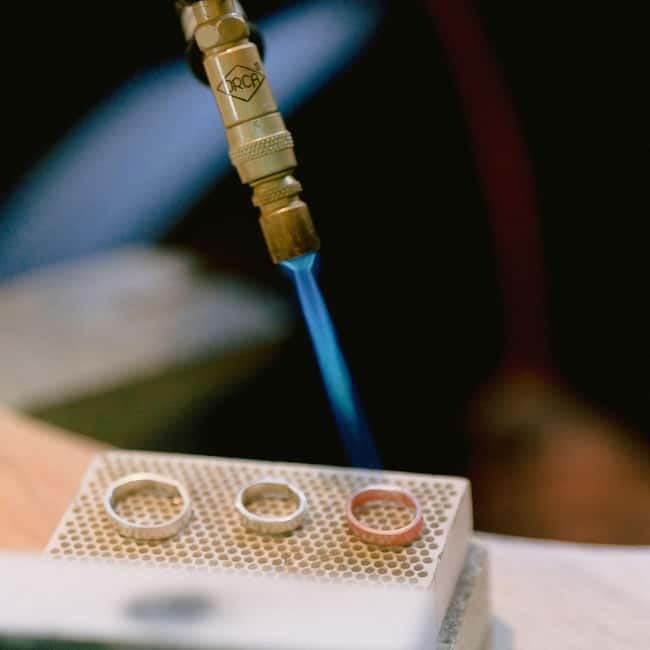
4) Soldering the ring closed
Once the edges meet correctly, the ring gets soldered. A tutor handles or supervises this step expertly, and they guide you through what to watch for. This is the moment where the ring stops being a “band in progress” and becomes a ring you’ll keep.
5) Filing and refining the ring
After soldering, you learn to file the ring using different hand files. The goal is twofold: remove roughness and smooth the surface so it feels comfortable on your hand. You’ll also correct small uneven spots that happen during shaping.
6) Customize the curve
Now you get to personalize. You’ll decide what curve you want. That curve changes how the ring sits and how it feels from finger to finger. It also affects the final look, especially once you add texture.
7) Choose your texture, then planish
You’ll choose from three different textures. After that, you use a planishing hammer to create the texture you selected. This is one of those steps where watching and doing both matter. The tutor helps you build the texture evenly, instead of with random bumps.
8) Pick your polish to finish
Finally, you choose your polish. This is where the ring shifts from “made” to “finished.” You can end up with a clean, shiny look or a more subdued finish depending on your choices.
Along the way, you’ll also have tea/coffee and snacks included. It’s not a huge meal-break, but it keeps energy steady as the tools get more hands-on.
Design choices that make the ring feel uniquely yours
The class gives you real decision points, not just a single preset outcome. That’s what turns it from a novelty activity into something you’ll actually want to wear.
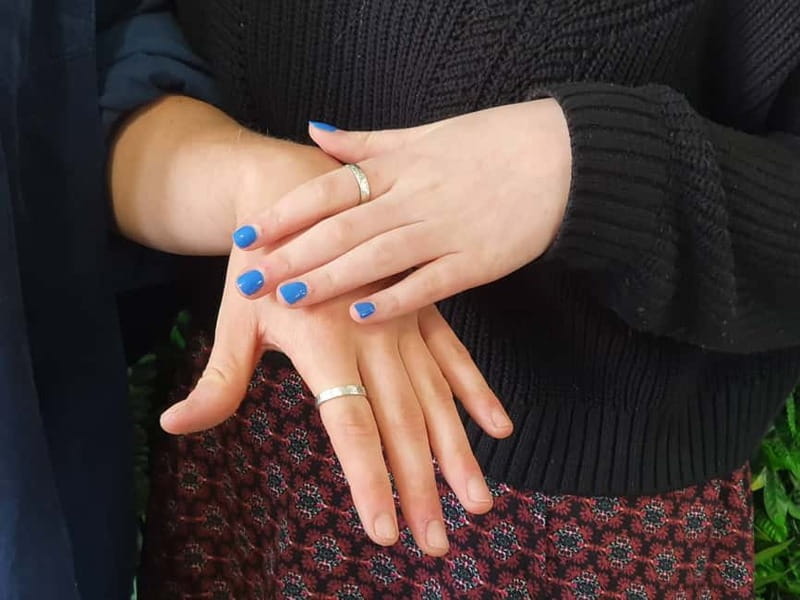
Size starts with your choice of finger
You pick the finger from the start, then size it from there. That means you’re not arriving and being told your ring will be a one-size token.
Curve changes the feel
The curved profile is a subtle detail that matters. A flatter ring can feel different than a ring with a slight contour, and the class helps you choose what you like.
Texture options let you choose your style
Those three texture options give you different personalities: some styles look crisp and modern, others feel more tactile. You’re not stuck with what looks best on a mannequin. You pick the visual direction, then you earn it with the hammer work.
Polish decides the final vibe
The polish step brings everything into focus. In classes like these, people often like that they can choose between a brighter look and a more matte feel, depending on what they prefer to wear day-to-day.
If you’re the kind of person who likes craft but also likes control, you’ll like this structure. It gives you choices at the points where they affect the final ring most.
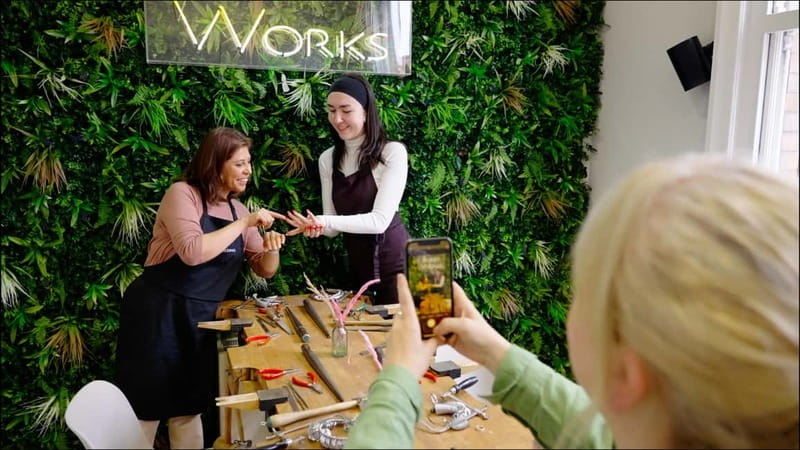
Two instructors, clear guidance, and the kind of patience that matters
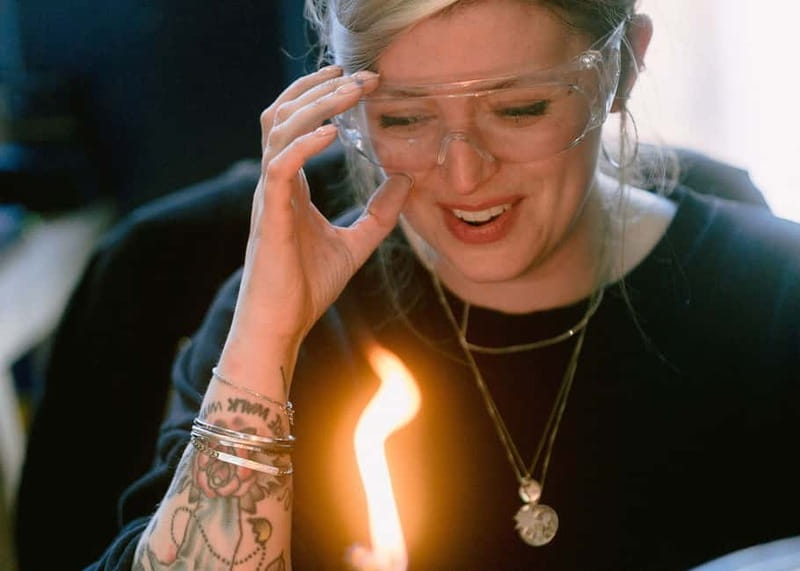
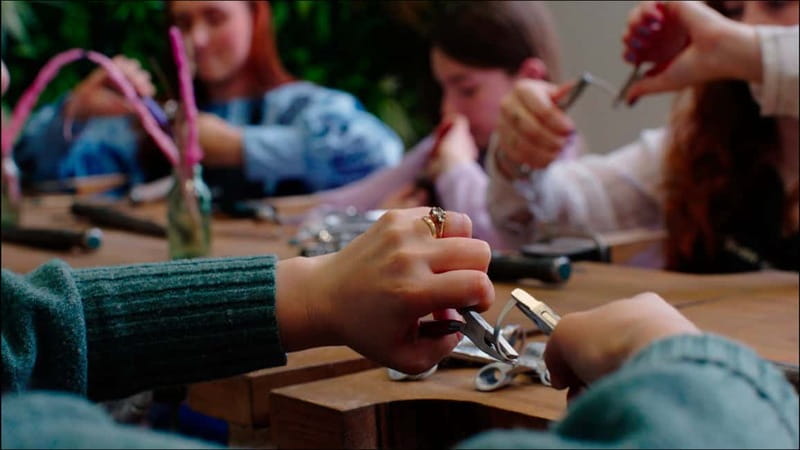
A lot of workshops say they are hands-on. This one is hands-on in a way that actually helps beginners.
One strong theme is the tutoring style: step-by-step direction, corrections when your technique slips, and encouragement when you’re unsure. People talk about instructors being friendly and professional, and the class benefits from having two instructors working with the group. That matters because jewelry skills are physical. If your hand position is a little off, you want immediate feedback rather than waiting until the end.
You might see instructors like Audrey and Sinead, and others such as Kat, Claire, Emily, Jill, and Owen are also connected with classes people have attended. Regardless of who you get, the role is similar: you’re guided through shaping, filing, soldering steps, and the texture finish so your ring comes out wearable, not just “interesting.”
Also, the pace is designed for non-experts. Even if you’ve never touched a file or hammer before, you’ll have a clear sequence to follow. And if you get nervous, that’s normal. The best teaching approach here is practical: do this next, look for this, and adjust with confidence.
Price and value: what $98 buys you in the real world
At $98 per person for a 2-hour workshop, the cost can feel like a splurge at first glance. But the value is in what’s included and what you leave with.
You’re getting:
- A forging workshop
- An expert tutor guiding you through the whole process
- An individual ring you make in class
- Tea/coffee and snacks
- A sterling silver result that’s not just an experience souvenir, but something you actually own and wear
That’s the core math. If you pay for a class where you only watch someone else work, it’s hard to justify. Here, your payment ties directly to a take-home piece. People who were unsure about price usually calm down once they see they aren’t leaving with a certificate. They’re leaving with a real ring made during the session.
One more value point: location. Drury Street is central, so you’re not spending your day commuting. The experience stacks well with walking Dublin afterward.
Who this workshop suits best in Dublin
This is ideal if you want an activity that’s creative, tactile, and tied to place.
You’ll probably like it if:
- You want a hands-on souvenir instead of another shop-bought item
- You’re interested in jewelry making but don’t want a full multi-day course
- You’re traveling as a couple and want a shared project (matching rings come up often)
- You enjoy guided work where each step builds on the last
It also works well for a short Dublin day. Two hours is manageable. You can do this and still have time for a pint and a walk through neighborhoods you’ll actually remember.
Age and comfort considerations
- The workshop is suitable for children over 10
- Anyone under 16 must be accompanied by a paying guardian
- It’s not suitable for wheelchair users due to the studio stairs
- A good level of English is required, since instruction is in English
If you’re traveling with mixed ages, it might be easiest to treat this as an adult activity unless the kids meet the age requirement and can comfortably handle the studio environment.
Smart planning tips so the day goes smoothly
A few practical things will make your workshop better.
Arrive early and don’t rely on luck
They can’t accept late attendees beyond 10 minutes after the class has started. Plan to be early, not just on time.
Wear footwear you can stand in
No footwear rules were listed, but the work involves standing and tool use. Sturdy shoes help.
Bring a simple goal
Think about what you want the ring to feel like on your hand. Do you want a brighter finish or something more understated? The texture and curve choices become easier when you decide your preference before you sit down.
Expect English instruction
You don’t need to be fluent like a local. But you should be comfortable following directions and asking questions.
Should you book Forge a Silver Ring on Drury Street?
Book it if you want a Dublin memory you can wear, not just photograph. The workshop’s value is strong because you do the process end-to-end and you leave with an individual sterling silver ring you created through guided steps: cut, shape, solder, file, curve, texture, and polish.
Skip it if:
- You need wheelchair-friendly access, since steep stairs are part of the studios
- You don’t feel comfortable with instruction in English
- You’re trying to squeeze it into a very late, stressed schedule where arriving early is hard
If you can handle those basics, this is one of the best kinds of city activities: creative, practical, and tied to the place you’re visiting. You’ll walk out with something you made in Dublin, and that’s exactly the kind of souvenir that doesn’t fade.
FAQ
How long is the Dublin silver ring forging workshop?
The workshop lasts about 2 hours.
How much does the workshop cost?
The price is $98 per person.
What do I make and take home?
You make a personalized sterling silver ring during the workshop and take it home.
Where do I meet for the workshop?
The booking is for the Drury Street location, but classes may sometimes be held at the second studio at 4 South Great Georges Street, D02NR59 (about a 2-minute walk). You’ll receive a message the day before to confirm which location you’ll use.
Is hotel pickup or drop-off included?
No, hotel pickup and drop-off are not included.
What ages can attend?
The workshop is suitable for children over 10 years old. Anyone under 16 must be accompanied by a paying guardian.